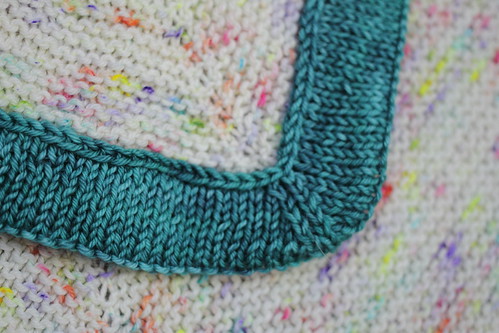
I've had a few people ask about what pattern I used, but I just improvised a simple, center-out garter stitch square. I gave it a double-sided stockinette border for a little pop. I'm really happy with the results and thought I'd share the notes with you lovelies! ♥
Materials
Yarn: Madelinetosh tosh dk (100% merino, 225 yd per 100 g ball), 5 skeins of "Cosmic Wonderdust" (MC) and 2 skeins of "Mineral" (CC)
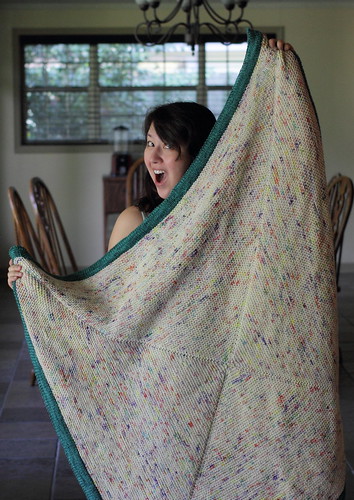
Mine is pretty big at 38x38" unstretched. (And we all know garter stitch has a lotta stretch.) If you wish to make a smaller or larger size, you could easily modify the pattern to get away with less or more. Once you run out of your MC, simply skip right on to the border. If you only have one skein of your border color, once you've reached halfway through your MC skein, do your purl round and move on to the decrease portion. You can either weigh your skein or eyeball it if you are good like that.)
Needles: US Size 8/5.0 mm circular needles (you can start with DPNs, but this sucker gets big fast)
Gauge: 16 sts and 24 rows in 4" stockinette
Notions: Yarn needle and (4) stitch markers
Directions
Body:
With MC, CO 6. Place marker and join in round.
Rnd 1: Kfb every stitch in round (12 stitches)
Rnd 2: Purl every stitch in round
Rnd 3: Kfb every stitch in round (24 stitches)
End 4: Purl every stitch in round
Rnd 5: (Kfb, k4, kfb, pm) repeat around (This should give you the four sides of your square.)
Rnd 6: Purl every stitch in round
Rnd 7: (Kfb, k to marker, kfb), repeat around
Repeat rounds 6 and 7 until you have 150 stitches between each set of stitch markers (or until you are close to done with your MC yarn or until desired size)
Border Increases:
Rnd 1: With CC knit around
Rnd 2: (K1, M1R, knit until 1 stitch before marker, M1L, k1) repeat around
Use your favorite "make 1" method. I like to pick up the little ladder between stitches and knit into the back of it.
Repeat rounds 1 and 2 a total of 4 times.
Rnd 3: Purl around
Rnd 4: Knit around
Rnd 5: (K2tog, knit until 2 stitches before marker, ssk) repeat around
Rnd 6: Knit around
Repeat rounds 5 and 6 a total of 4 times.
Fold the border on the purl row so that the two purl sides are facing.
Pick up the first CC purl bump from the first border round and slip it to the left needle. Knit together the purl bump with the first regular stitch. Repeat again this process of picking up the next purl bump and knitting it together with the next stitch. You should have two stitches on your right needle. Pass the first one over the second to bind off that stitch.
Repeat this process of picking up purl bumps from the first border row, knitting them together with the live stitches on your needles, then binding off. The result should start to look like this:
You will have a stockinette border on both sides of your work.
Weave in ends. Enjoy!!